ClassroomAll docs
Create a course
Name it, add sections and lessons, choose who can open it, and publish. Everything saves as you go.
Create the course
- 1
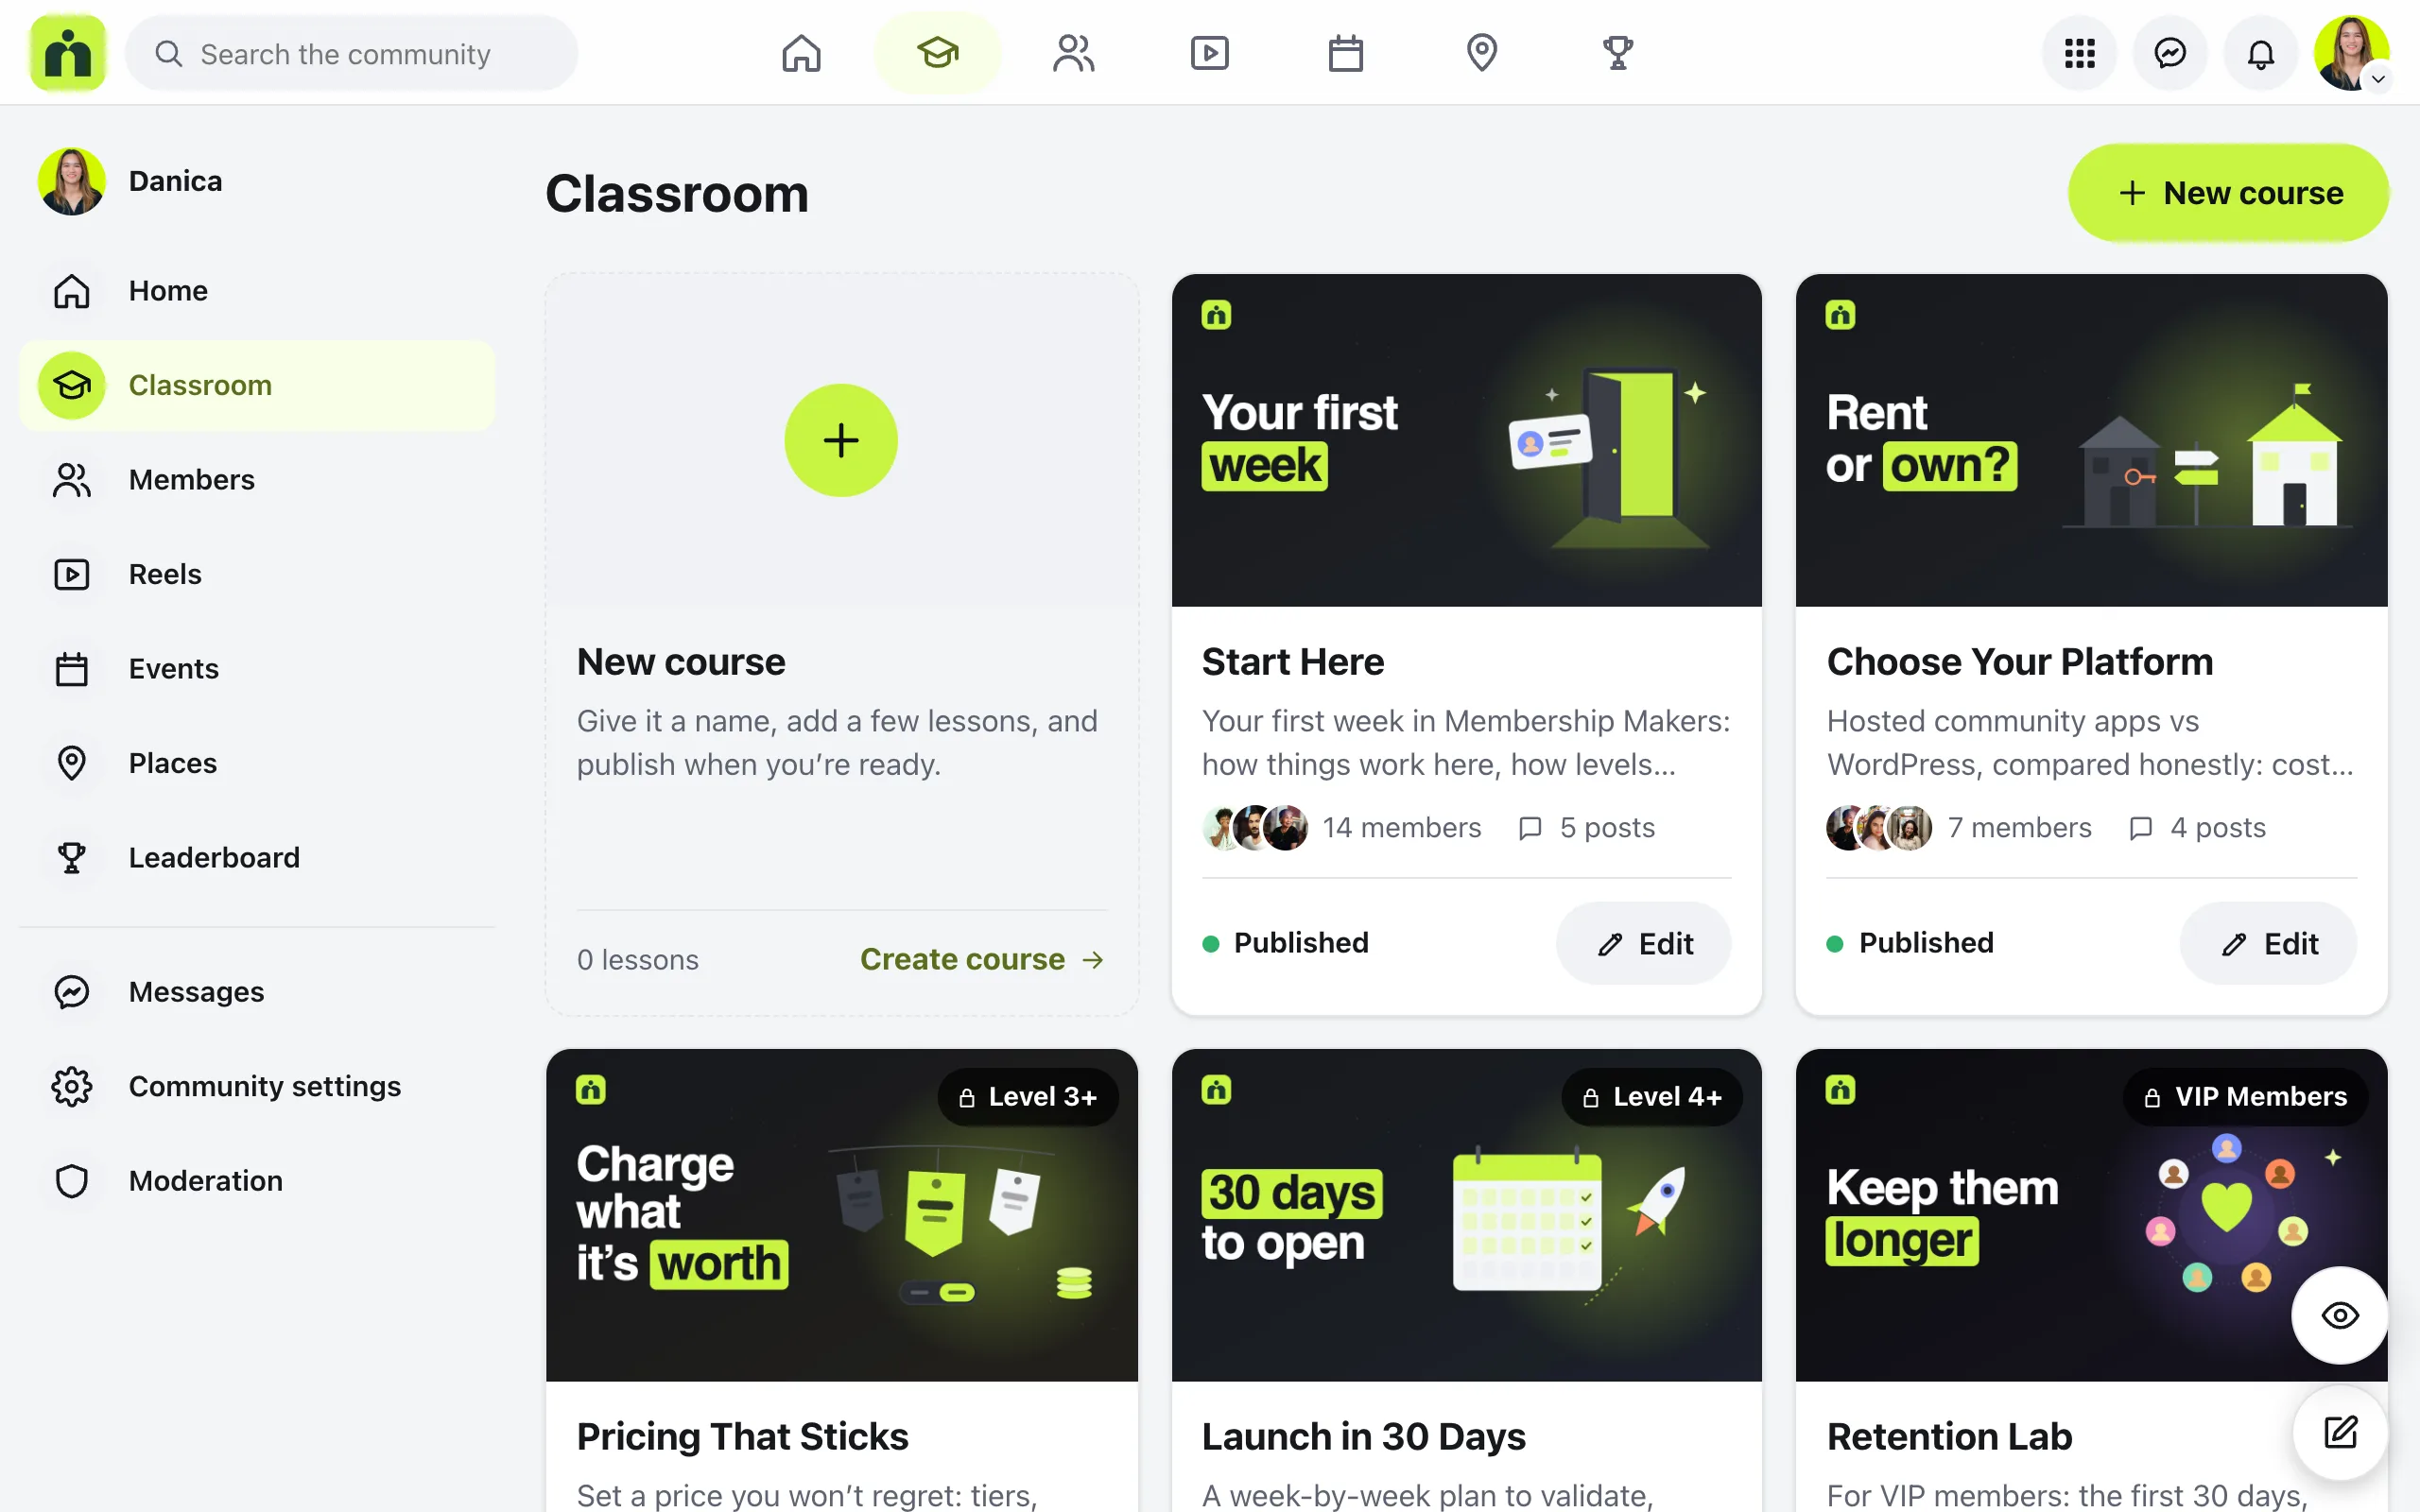
Open the Classroom
In your community, open Classroom from the menu. As an admin, you’ll see a New course button.
- 2
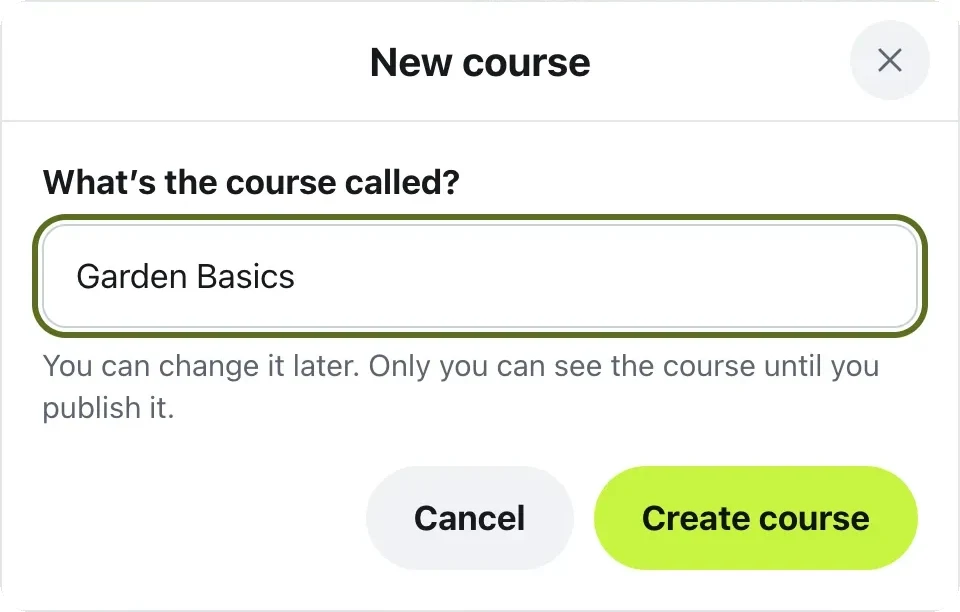
Press New course
You’re asked what the course is called. Type a name, like Garden Basics, and press Create course. You can change the name later.
- 3
You’re in the course builder
It has three tabs: Course map, Lessons and Course settings (on a phone, Map, Lessons and Settings). The course is a draft, so only you can see it for now.
Add sections and lessons
On the Lessons tab, press Add your first lesson. Each lesson can have:
- A name, like Week 1: Planning your garden
- A video, if you want one: drop a file, choose one, or paste a YouTube or Vimeo link. It plays at the top of the lesson
- Text members read under the video. Type normally, then use the buttons to make words bold or add a list
- Files to download, like worksheets, checklists or PDFs, each with the name members see
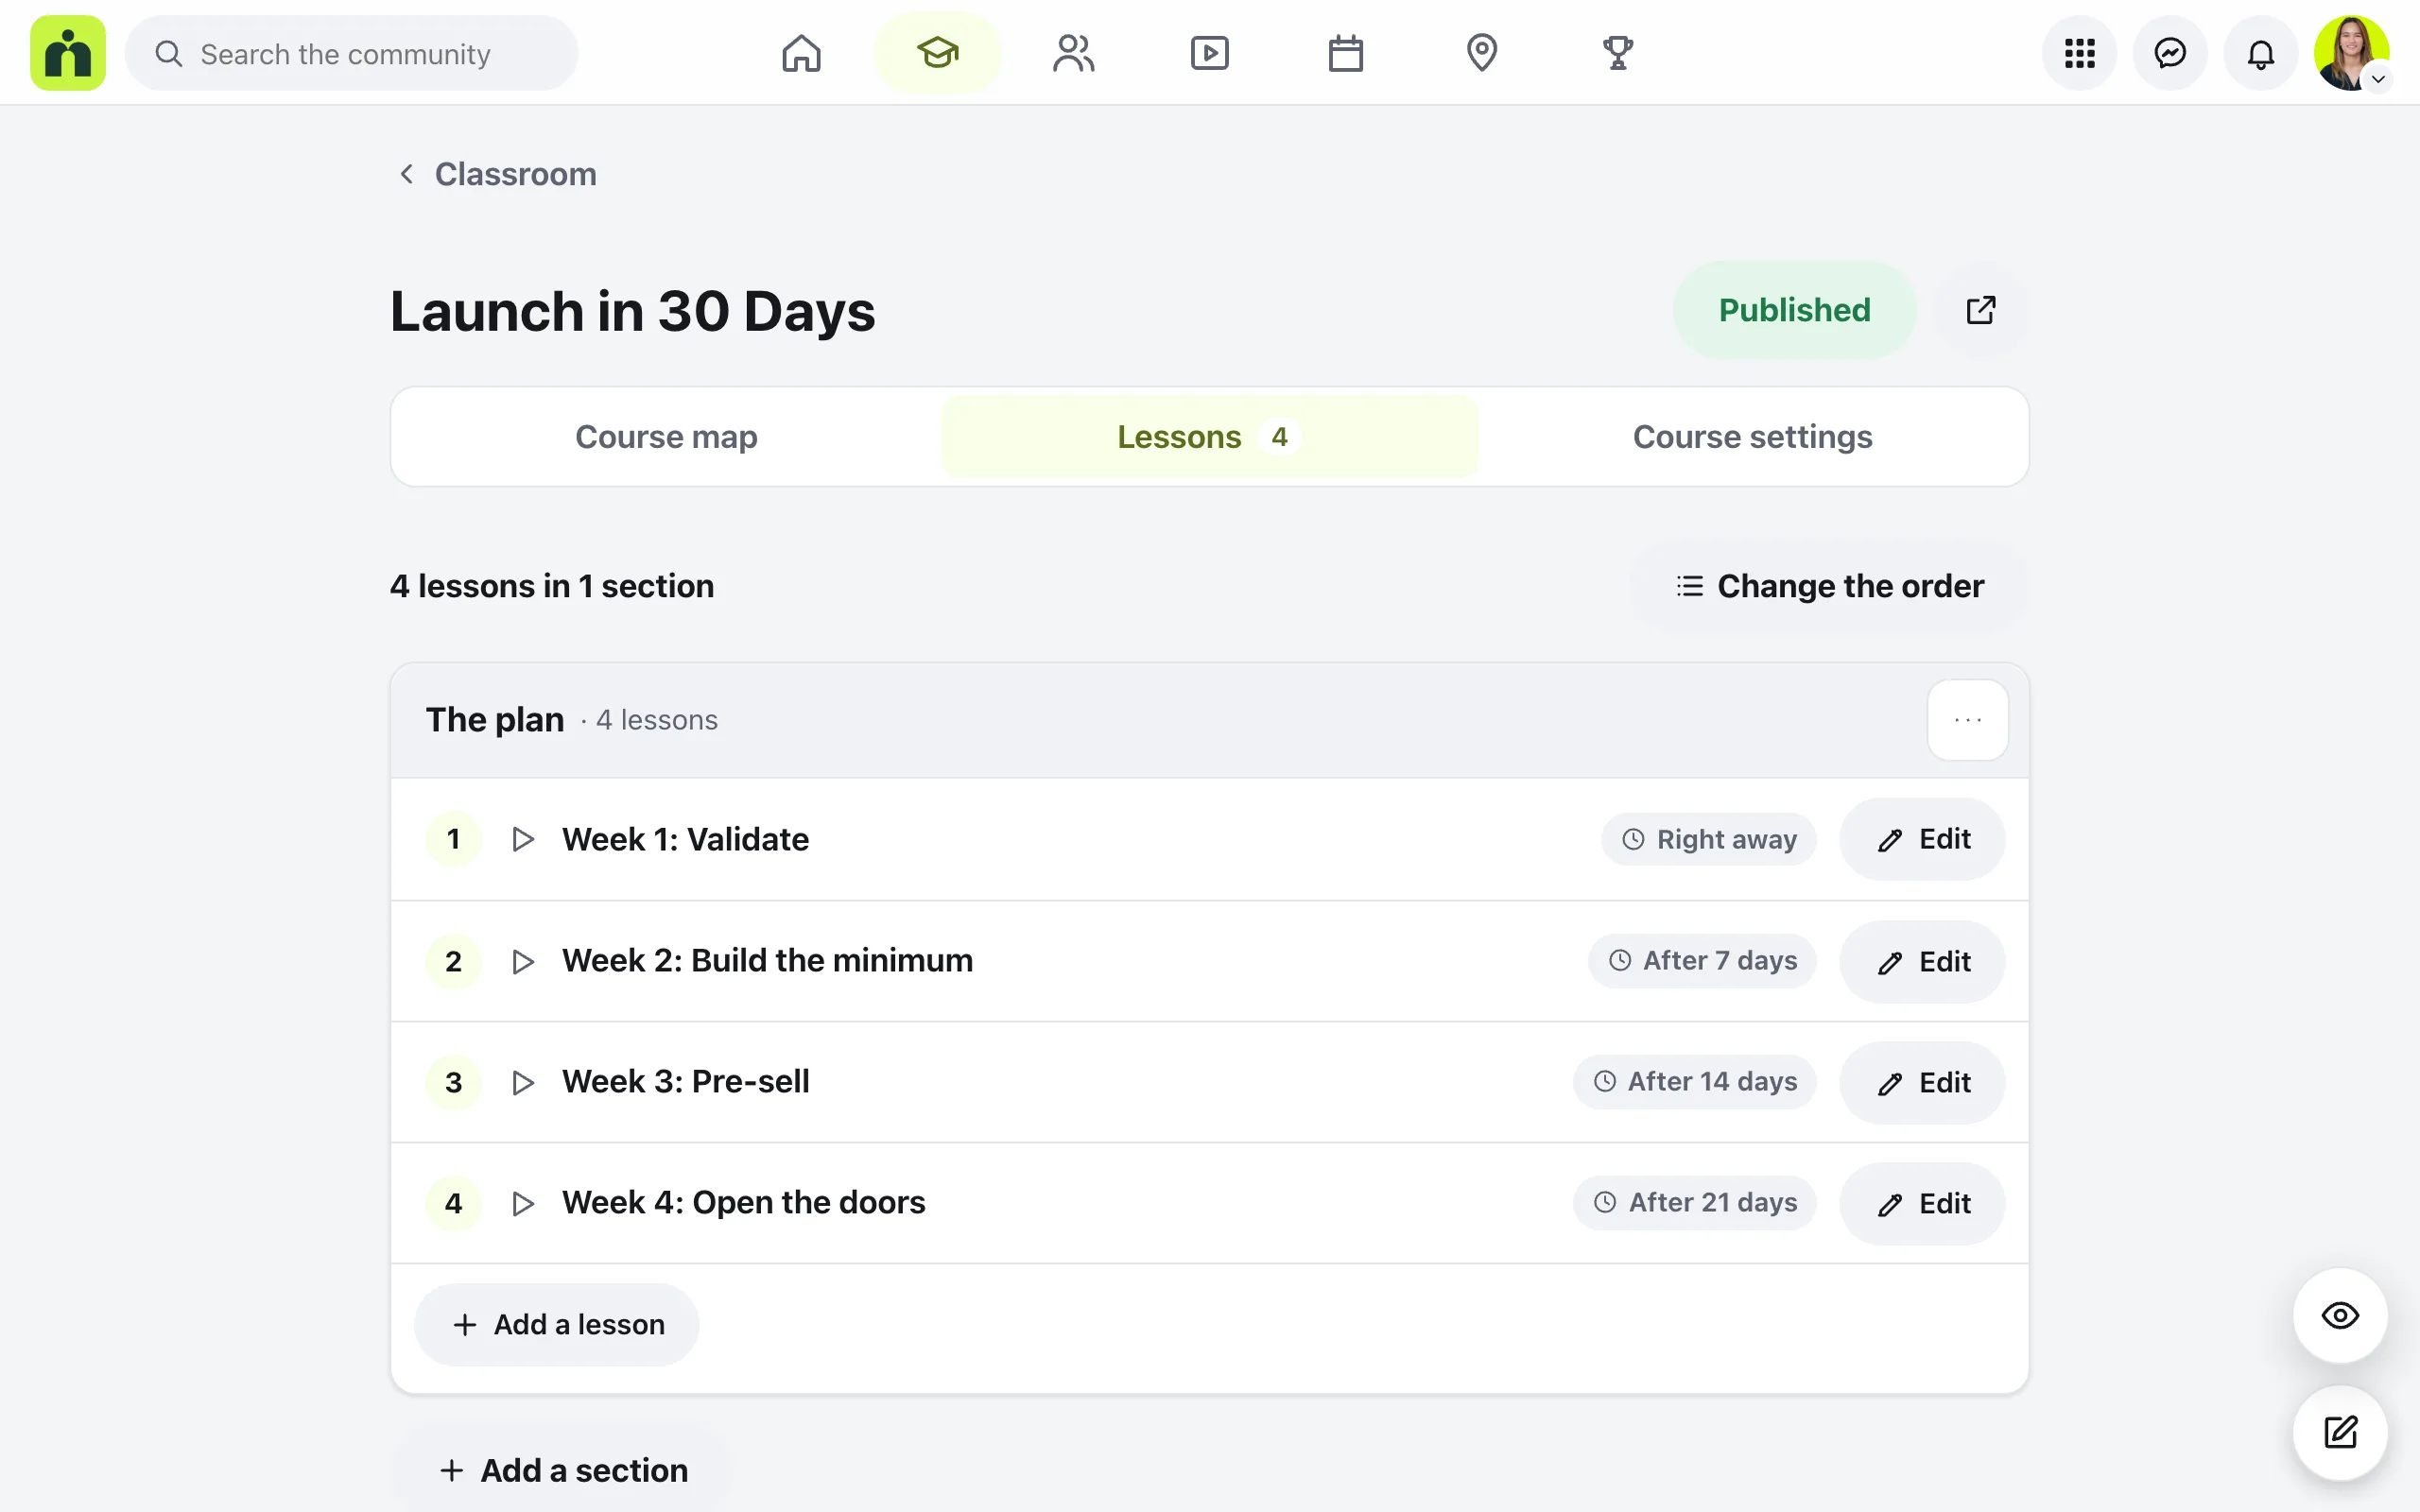
Sections group lessons, like chapters in a book. Use Add a section for each one, then add lessons inside it.
To move things around, press Change the order, then drag the dots beside a section or lesson, or press them for Move up and Move down. The Course map tab shows the whole course, and when each lesson opens.
Course settings
The Course settings tab asks a few questions, in this order.
The basics
The course name, a short line that shows on the course card, a cover picture (a wide one works best), and More about it, where you say what members will learn and who it’s for.
Who can open it
Everyone; Active members, who open it when they reach a level you pick; or Only some members, the people with a membership you choose, like paid members. You also choose what everyone else sees: the course with a lock, so they can see what’s inside, or nothing at all.
How it works
How the course opens: all at once, from when each member joins, or on a start date. Then whether members can skip ahead or finish one lesson to open the next, and whether they can ask questions under each lesson.
Not sure which way a course should open? What’s the difference?, beside that question, explains each one with an example. You can change it any time, and lessons people already finished stay open.
Publish it
At the end of Course settings, under Ready?, choose Published. Members see the course in the Classroom straight away.
Before you do, press See the course at the top of the builder to check it in a new tab. You and your moderators can always open every lesson, whatever you chose for members.
Questions
Do I need to press Save?
No. Everything in the course builder saves by itself, and the top of the builder says Saving… and then Saved. If it says Couldn’t save, check your internet and press Try again.
Can members see my course while I’m building it?
No. A new course is a draft, and only you can see it. Members see it in the Classroom once you choose Published under Ready?.
Where do lesson videos come from?
You can upload a video file, or paste a YouTube or Vimeo link. For big courses, you can connect Bunny Stream in Settings, then Video, so videos stream smoothly.
How do I see the course the way members do?
Press See the course at the top of the builder to open it in a new tab. In the Classroom, Member view shows the page the way members see it, with drafts hidden.
Can I bring courses over from LearnDash or Tutor LMS?
Yes. Import, in Settings, brings LearnDash and Tutor LMS courses over with their lessons, students and progress, even with the old plugin switched off.
Stuck, or something not right? See Troubleshooting, or email us and we’ll help.